- What the product does
- How to install and uninstall
- How to setup and use
Support Portal - User Guide
Please Note: This guide is a work in progress. We are adding content from our Knowledge Base, and new content over the coming weeks.
Contents
- 1. Introduction
- 2. What is Support Portal
- 3. Getting Started
- 4. Ticketed Support
- 5. Customization
- 6. Requirements
- 7. Installation
- 8. Uninstallation
1. Introduction
This user guide gives an in depth description of Support Portal and how to use it including:
2. What is Support Portal
Freestyle Supprot Portal is a component to handle user submittes support tickets on your website. Users can submit tickets either by filling in the form on your site or by sending an email. Your admin staff will be notified of the ticket and can respond to the query.
The component also includes several other sections to help your sites users. The sections of the component are:
- Ticketed Support
- Knowledge Base
- FAQs
- Testimonials
- Announcements
- Glossary
- Reporting
3. Getting Started
Installation
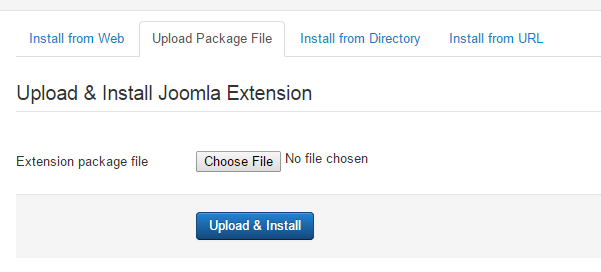
Once you have purchased Support Portal, goto our downloads section here. You will need to download the version of Support Portal for Joomla 2.5 and 3.x. Once you have this file, goto the Joomla Backend on your website, and goto 'Extensions' -> 'Extension Manager'. Once here, you will be presented with the extension installion page.
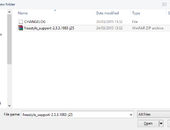
Click the choose file button, and select the zip file downloaded from our downloads section. An example name for the Joomla 2.5 and 3.x install would be freestyle_support-2.3.3.1983-j25.zip. Even though the installer file name ends with -j25, this does not mean it is only for Joomla 2.5. The same install will work for all version of Joomla 2.5 and above, including all 3.x releases.
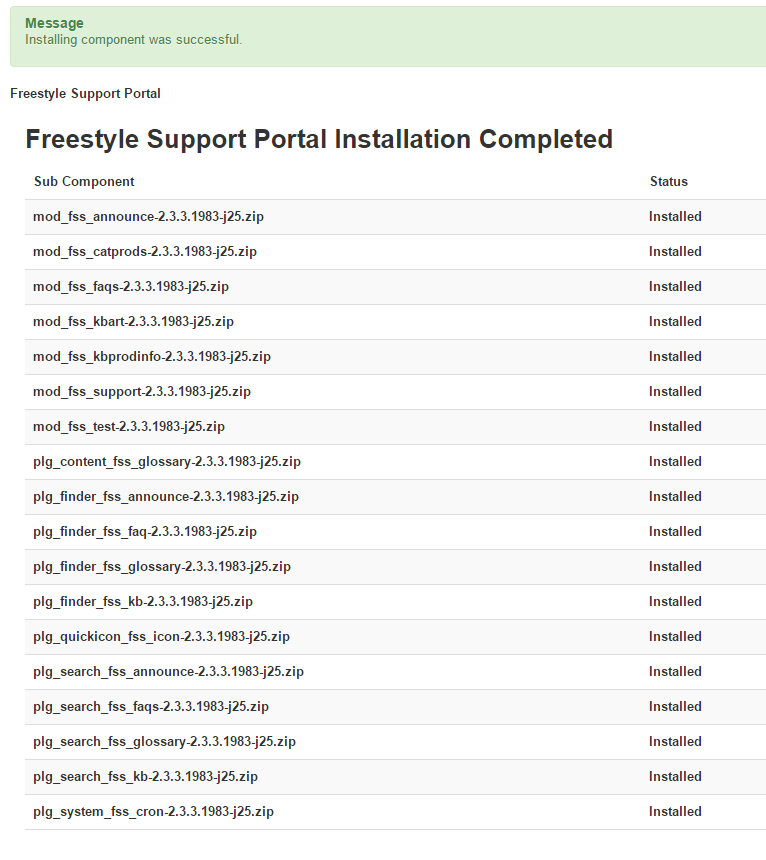
Once you have selected your file, click on the 'Upload & Install' button. This will begin the process of installing Support Portal. Please be patient as this can sometimes take a few minutes. Do not refresh your web browser or navigate to another page while this process is happening.Once this process is complete, you will be show the status of the installion. If you have any errors occur here, please contact our support department.

Adding to your sites frontend
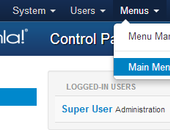
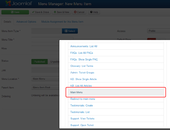
Once you have installed Support Portal, the quickest way to get started is to create a new Joomla menu item on your site. Set the menu item type to Freestyle Support -> Main Menu.

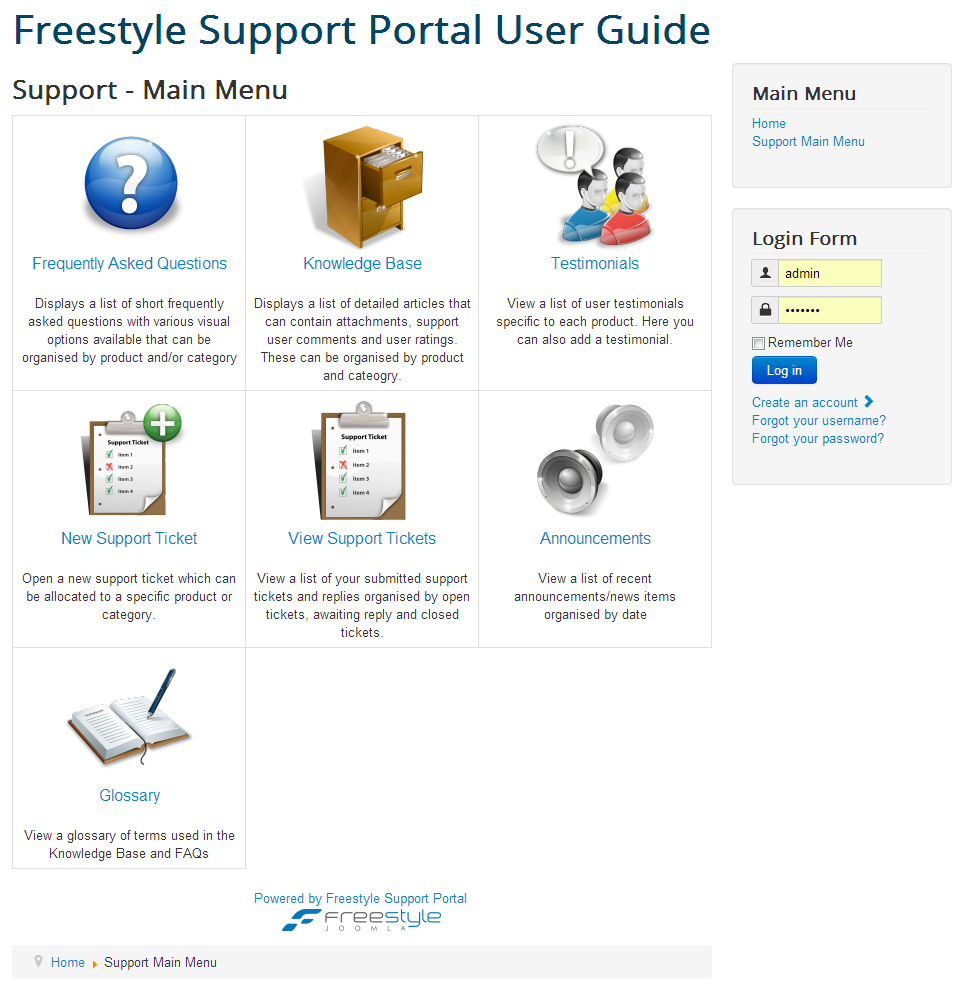
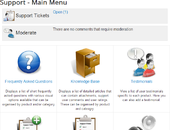
If you visit your new menu item on your site, you will be presented with a menu grid that links to each different part of your new support system.
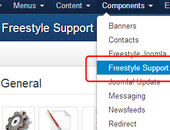
You can edit the contents of your new support system and its settings on the Joomla backend. Goto Components -> Support Portal to view the main admin page.
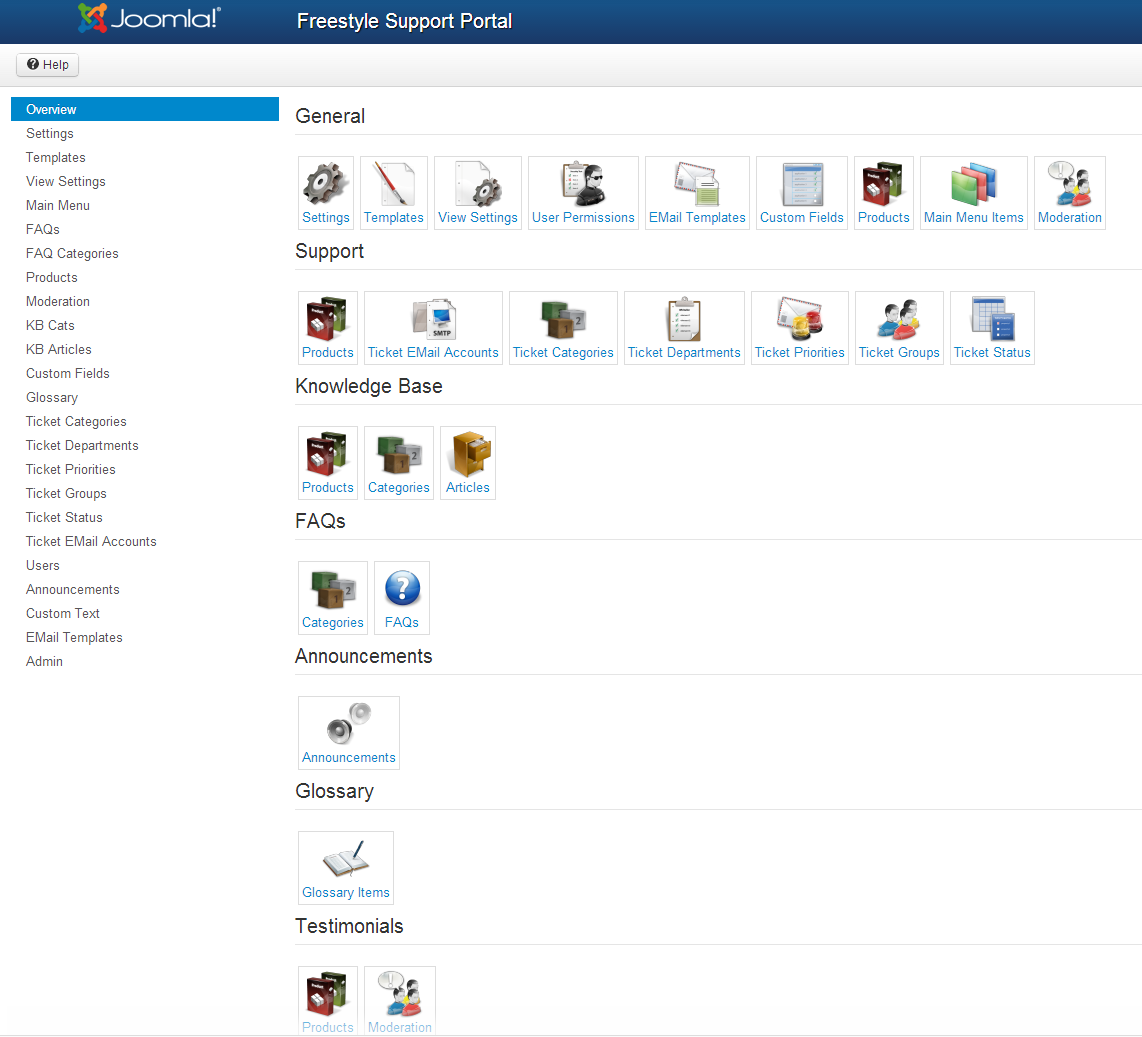
To view details on how to configure each part of the component, please see the relevant section of this userguide.
4. Ticketed Support
The tickets support system has 2 main views. The first view is intended for your users to submit tickets to the system, and view the replies from your staff. The second view is the your staff to manage and reply to the tickets your users have submitted.
Ticket Handler Permissions
The permissions of what a user can do regarding ticket administration is configured in the Components -> Freesyle Support -> Permissions menu.
Adding a user here will allow permission to be set up for that user.
The settings relevant to the ticketed support system are in the "Support" section of the permissions form.
- Can Manage Support Tickets - Enabling this allows the user access to the support admin system, and allows the replying and viewing of tickets.
- Can only view own tickets - If a user has this enabled, they will only be able to view tickets that are assigned to them personally, and not be able to view any other handlers tickets. This settings overrides the "View Ticket Permissions" section.
- Dont auto assign tickets - This user will never be automatically be assigned tickets. This option is usefull for setting up manager users who can monitor a pool of ticket handlers.
The tickets in the system that the hanlder is able to view, edit and reply to can be modified in the "View Ticket Permissions" section of the form. The default is to allow the handler to view tickets for all products, departments and categories. You can specify "No" for any of these section, and choose from a list of which products, departments and categories the handler can see. Using this you can easily separate tickets intended for different areas of your business.
The tickets that a user can be auto assigned is also controlled here. If the "Assign tickets based on separate permissions" option is not checked, then any tickets that the handler is able to see can be auto assigned to them. By checking this option a 2nd set of product / department / category option will be displayed. You can use these option to configure which tickets the handler can be assigned independantly of the view settings.
URL Shortcuts
There are several parts of the system that can be automated using direct links such as pre filling in open tickets and admin searches.
1. Opening Ticket
To create a link that pre defines some of the entries when opening a support ticket, you can use urls in the following format:
index.php?option=com_fss&view=ticket&layout=open
If you already have a url from your site for openeing a ticket (ie, http://domain.com/support/open ) or similar, you can just append the parameters to that.
General Parameters
- prodid
- Product ID
- deptid
- Department ID
- priid
- Priority ID
- catid
- Category ID
- body
- Main Message
- subject
- Subject
- handler
- Value for the handler dropdown if there is one (Usually the user id of the handler you want to use)
- custom_XX
- Custom field value. Replace XX with the ID of you custom fiels.
Examples:
index.php?option=com_fss&view=ticket&layout=open&prodid=2&deptid=6
http://domain.com/support/open?catid=5&subject=New Ticket
Creating Ticket for user by handler
To open a ticket for a user as a ticket handler, you can use the following parameters. You can also use the above params to preset various parts of the ticekt.
Registered User
- admincreate
- Must be 1
- user_id
- ID of the user the ticket is for
Example:
http://domain.com/support/open?admincreate=1&user_id=102
UnRegistered User
- admincreate
- Must be 2
- admin_create_email
- Users email
- admin_create_name
- Users name
Example:
http://domain.com/support/open?admincreate=2&admin_create_email=This email address is being protected from spambots. You need JavaScript enabled to view it.&admin_create_name=Bob&priid=5
Additional Users
When openeing tickets for users, as of v2.3 you can add additional emails and users to the ticket from the url. Use the following:
- additionalusers
- Comma separated list of user ids to add
- additionalemails
- Comma separated list of user emails to add
Example:
http://domain.com/support/open?admincreate=1&user_id=10&additionalusers=928,929&additionalemails=This email address is being protected from spambots. You need JavaScript enabled to view it.
2. Searching Tickets
You can create a link directly to an admin search using the following url:
index.php?option=com_fss&view=admin_support&what=search&searchtype=advanced
To enter values for the different parameters you can pass the following:
- subject
- Subject field
- reference
- Ticket Reference
- username
- User Name
- useremail
- Users EMail
- userfullname
- Users Name
- handler
- Handler Dropdown. Important values are: -1 = My Tickets, -2 = Other Handlers Tickets, -3 = Unassigned, -4 = CC'd Tickets. Otherwise, enter the handlers user id.
- content
- Ticket Messages
- status
- Ticket Status. Preset Values: allopen - All Open Tickets, closed - All Closed Tickets, all - All Tickets
- product
- Product (pass id)
- department
- Department (pass id)
- cat
- Category (pass id)
- priority
- Priority (pass id)
- custom_XX
- Custom Field. Replace XX with the field ID
Examples:
index.php?option=com_fss&view=admin_support&what=search&searchtype=advanced&product=1
User Ticket System Setup
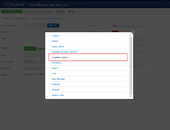
Your sites user can access the ticketing system through the support main menu, or by creating a link to either the Support: Open Ticket or Support: View Tickets menu item types.
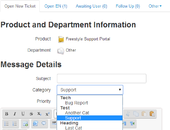
The Support: Open Ticket menu item type, and the New Support Ticket link on the main menu will take the user to the screens for opening a new support ticket. They will be first asked to select which product and department that they would like to open a ticket for, then presented with a form for entering the rest of the ticket details.
Once the user have submitted the ticket they will be shown the ticket.
A user can view their existing tickets by visiting the View Support Tickets link on the main menu or with a Support: View Tickets menu item type. Here they can view any handler replies, and also post files and new messages to the ticket.
1. New ticket permissions
You can customize which users can open a ticket in the settings system. Under Components -> Freestyle Support -> Settings, in the Support tab.
By default only users who are registered on your site will be able to open support tickets, but enabling the "Allow tickets by unregistered users" option will allow unregistered users to create support tickets. The unregistered user will be asked for an email address and be provided a password to view that ticket. This does not create the user an account on your site, the password is just for viewing that specific ticket.
Ticket Administration Setup
To be able to view the ticket administration part of the component, you must first set up the users with permission to do this.
Goto Components -> Freestyle Support -> Permissions to view the ticket admin permissions system. Add a new user here, select the Joomla user you with to add permission for, and check the "Can Manage Support Tickets" option.
This user will be presented with an additional option on the main menu that links the the administration part of the component. You can also create a menu item linking to this part directly by using the menu item type Admin: Main Menu.

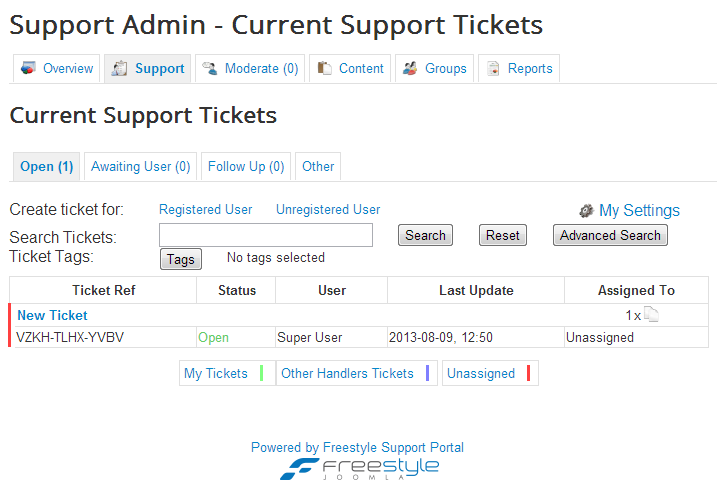
Once in the admin part of the component, you can use the "Support" tab to view any tickets that have been submitted by your sites users.
1. Replying to tickets
Once you have located the ticket you wish to handle, replying to the user is as simple as clicking the "Post Reply" button. This will bring up the form where the handler can enter their message to the user.
On this form the handler can also modify the status of the ticket, attach files, and add tags to the ticket.
Once the reply is added, the user will get a notification email (if this is enabled) and the ticket updated accordingly.
To add a reply that is not visible to the user, the "Add Private Comment" button can be used. This will add a ticket reply that is only visible to other ticket handlers, and NOT the user who has opened the support ticket. Private comments on a ticket will have a pink heading.
The "Audit Log" button can be used to display a complete history of the status changes and replys that the ticket has had.
2. Finding Tickets
In the "Support" tab of the Administration section, you will be shown a list of tickets that are currently open. The status tabs on the page can be used to list tickets that have a status other than the default open one.
To view and reply to a ticket just click the ticket in the list presented.

You can search for ticket within the system using the "Search Ticket" option on this page. This will search the ticket subjects and reference numbers for matching ticket and display a list.
By clicking the "Advanced Search" button, a more complete search system.
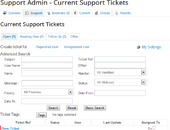
In the advanced search option you can find a ticket based on any of its attributes, including the users details, product, department etc.
The Advanced Search view can be set to be shown by default by enabled the setting "Show advanced search by default" option (Components -> Freestyle Support -> Settings -> Support).
3. Forwarding tickets
Support tickets can be forwarded to a different product, department or handler. When viewing a ticket, click the green arrow button by the relevant section to begin the forwarding process.
If you are forwaring to a product or department, you can select the new options you wish the ticket to have. When a ticket is forwarded, it will be re-assigned based your your systems settings, and a new handler chosed.
If you are forwarding to another handler, select the handler and the ticket will be reassigned to that handler.
When forwarding the handler has the option of adding 2 messages. The first message will be sent to new ticket handler, and will not be visible to the tickets user. The second message will be sent to the tickets user.
Once the handler has filled in the form, clicking the Forward Ticket button will perform the forward.
A ticket can also be forwarded to a different user when viewing the ticket, using the green arrow by the user field. If the ticket a ticket for an unregistered user, the ticket can be assigned to a user in the same way.
4. Creating ticket for users
A ticket handler can create a ticket on behalf of a user within the system. When viewing a list of tickets in the administration part of the system, there is a section "Create ticket for".
Using the "Registered User" link will start creating a support ticket for a registered user on your site. Select the user that you want to open a ticket for, and click the Next button. The handler can then follow the same process that the user would follow for creating a ticket.
The "Unregistered User" link will do the same process but for an unregistered user. The handler will need to enter the users name and email address when creating the ticket.
Once the ticket is created, it will be assigned as if the user had created the ticket themselves, and the usual email notification will be triggered.
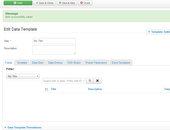
Ticket Statuss
Each ticket in your support system is tagged by a status. These are used to determine if the ticket is open, closed, awaiting the users reply etc.
The statuses can be fully customized by going to Components -> Freestyle Support -> Ticket Status.
You can add a new status or edit the title of an existing status here.
Against the status list, there are several options that configure how the system behaves relating to actions on the ticket.
The Defaults part specified the default status that the ticket will have once a certain action is taken. For each action only a single status can be selected. The different defaults are:
- New Ticket - Any newly created ticket will have this status.
- After User Reply - When a user replies to a ticket, this status will be set. You can also de-select the default so when a user replys the status will remain unchanged.
- After Admin Reply - When a ticket handler replys to a ticket, this is the default status option that is selected. The handler will be presented with a dropdown when replying so has the option to selected a status other that this. You can also de-select the default so the dropdown for selecting the status on reply will be set to the current ticket status.
- Closed - The default closed status. A ticket will be set to this when the ticket auto close system closes a ticket.
- Archive - The default "Archived" ticket status. When using the "Archive" button on a ticket it will be set to this status.
There are also a few option for each ticket status that controls how the status behaves.
- Is Closed - Denotes that the status means that the ticket has been closed and requires no further action. The ticket will no longer appear in the "All Open" tabs in the ticketing system.
- Can Auto Close - Any tickets of a status flagged by this setting will be checked by the auto close system.
- Own Tab - The status will have its own tab displayed when viewing the list of tickets
Products / Departments / Categories
Your tickets can be filtered using a system consisting of Products, Departments and Categories. You can use these to help direct the support ticket to the relevent staff member. All are optional, and do not have to be configured to use the ticketing system.
Products, Departments and Categories are an optional part of the system, and you do not need to configure them if you do not wish to use them.
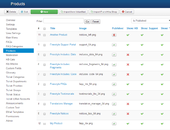
The first thing the user will see when opening a new ticket is a list of products to select from. To configure the products setup for your site, goto Components -> Freestyle Support -> Products. This gives a standard Joomla interface for creating a list of items. When adding products, for them to appear within your ticketed support system, you will need to make sure that the "Show in Support" option is checked.
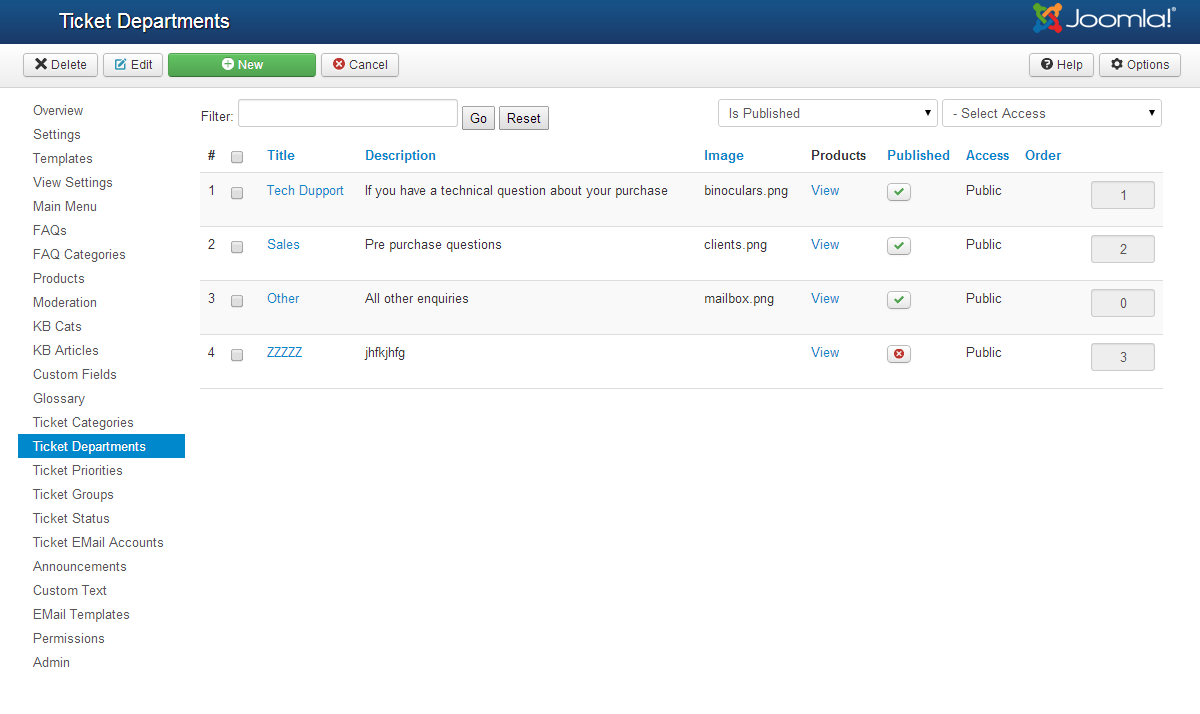
The next part of the ticket open system is the Department selection. Here your users can choose which department that their support ticket is related to. To configure the departments for your site, goto Components -> Freestyle Support -> Ticket Departments. This gives a standard Joomla interface for creating a list of items.
By default, a department will be displayed for all products you have configured. To limit this, select "No" for "Show for all Products", and check the products that you want the department to show in.


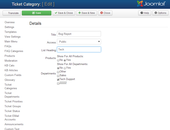
Categories are the final grouping level for support tickets. These are selected using a dropdown when the user is filling in the rest of the ticket details. To configure the categories for your site, goto Components -> Freestyle Support -> Ticket Categories. This gives a standard Joomla interface for creating a list of items.
By default, a category will be displayed for all products and departments you have configured. To limit this, select "No" for "Show for all Products" or "Show for all Departments" , and check the products or departments that you want the category to show in. The "List Heading" option for a category will group the options in the dropdown to allow easier selection.

Automatic Handler Assignment
The ticketed support system can be configured to automatically assign incoming support tickets to ticket handlers based on the product, department and category of the ticket.
Ticket auto assignment can be enabled under Components -> Freestyle Support -> Settings -> Support, by checking the option "Auto assign tickets to handler". When automatically assigning a support ticket to a handler, the system will build a list of matching handlers available and randomly select one to assign the ticket to.
The pool of available handlers is configured in the Components -> Freestyle Support -> Permissions page. Users you add here with permission to admin support tickets will be added to the pool.
For each user added, you can optionally specify a list of products, departments and categories that the user will be assigned tickets for. Please see the "Ticket Handler Permissions" section of this guide for full details on the users page. To allow a user access to the support admin system but not be assigned any tickets, enable the "Don't auto assign tickets" option.
By default, your sites super-user account will be added to this list, with permission to view all tickets, but with the "Don't auto assign tickets" option enabled so they are not automatically assigned tickets.
You can also configure the system so that the first handler that opens a ticket will be assigned the ticket by enabling the "Assign ticket on handler open" option.
5. Customization
If you wish to change any of the HTML used by Support Portal that is not covered in the Components -> Freestyle Support -> Tempaltes settings, then you can use the Joomla Tempalte Override system.
If you create a copy of any of the layout code used withing Freestyle Supprot Portal to the correct location, you can make changes without them being overwritten if you update the component.
The paths are as follows:
to override: components\com_fss\views\admin_support\tmpl\ticket.php
copy it to: templates\YOUR TEMPLATE\html\com_fss\admin_support\ticket.php
to override: components\com_fss\views\admin_support\snippet\_ticket_info.php
copy it to: templates\YOUR TEMPLATE\html\com_fss\admin_support\snippet_ticket_info.php
6. Requirements
Support Portal has the following technical requirements:
- Joomla 2.5 or 3.x.
- PHP 5.3 or later
- MySQL 5.x
For parts of the system, certain php modules need to be enabled. These are as follows:
- Built in Captcha : Requires GD image library (
php_gd) - Checking Email accounts for support tickets : Requires IMAP library (
php_imap). Note: This library is required even if you are only checking a POP3 mail account.
- Full support of multi byte strings : Requires Multi Byte String library (
php_mbstring). Note: The product full works without this library, enabling it ensures full compatability with non ASCII strings.
Please ensure that you have the most current version of your copy of Joomla installed. Our components and extensions are developed and tested only with the most recent versions of Joomla.
7. Installation
To install Support Portal on your Joomla! site you will need to do the following steps:
- Download the component from our websites downloads section.
- Go to your Joomla! web sites Administration page ( http://www.yoursite.com/administrator/ )
- Log into your Admin account
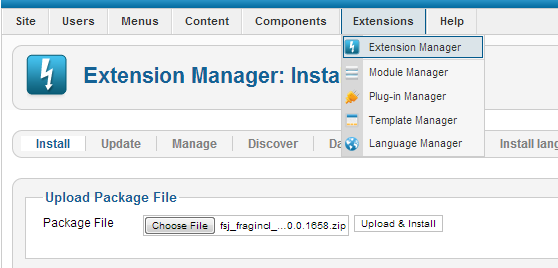
- From the menu at the top of the page select "Extensions" -> "Extension Manager"
- Under "Upload Package File" click the "Choose File" button.
- Select the zip file you downloaded from our site and click the "Upload & Install" button
- Your component is now installed and can be found under "Components" -> "Support Portal"
To update an existing installation of Support Portal you do not need to uninstall the component first. You just need to follow the instructions for installing.
If you have any issues with this process please open a support ticket or post a message in our forums.
8. Uninstallation
To uninstall Support Portal you need to log into your Joomla admin backend as described in the installation process.
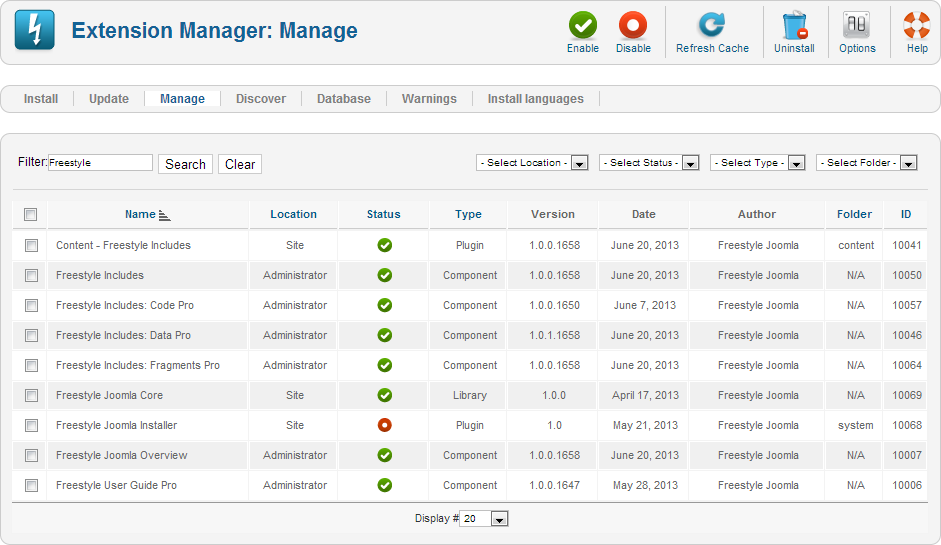
Goto "Extensions" -> "Extension Manager", then to the "Manage" section.
In the "Filter" enter "Freestyle" and click "Search". This will display a list of all the Freestyle Joomla components that you have installed. Check the box on the left of the list and click the "Uninstall" button on the top right of the page to uninstall a component.
Support Portal
Vote For Us!
Like Support Portal?
Vote for it on the Joomla! Extensions Directory! Voting for our products helps attract more users, which leads to better products!You can also view a list of all our products on the JED here.